Create application credentials
Application credentials let the OpenStack CLI, Terraform, Ansible, and other tools authenticate to Breqwatr Cloud as you, without storing your password. Each credential is scoped to a single project.
Prerequisites
- A signed-in Breqwatr Cloud account.
- Membership in at least one provisioned project. (If your project was just created, give it a minute to finish provisioning before its name appears in the project picker.)
- Wherever you want to use the credential, install the OpenStack CLI if you haven't already — see Using the OpenStack CLI.
Steps
1. Create a credential
-
Open Profile from the avatar menu, find the API credentials card, and click Manage application credentials.
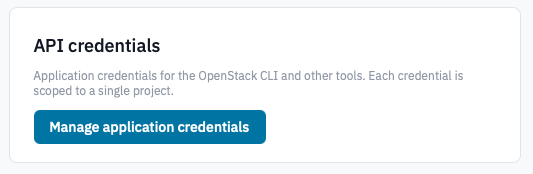
Profile API credentials card.
-
Click Create credential.
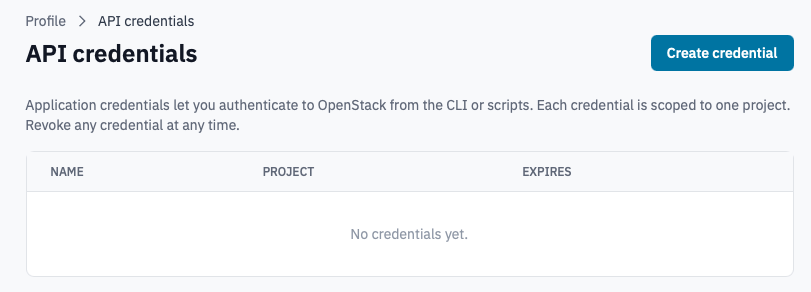
Application credentials index with "Create credential" highlighted.
-
In the form:
- Project — pick the project the credential should authenticate to. Application credentials cannot span projects; create one credential per project you need to use.
- Name (optional) — a label to tell credentials apart in the list. Defaults to a timestamp-based name.
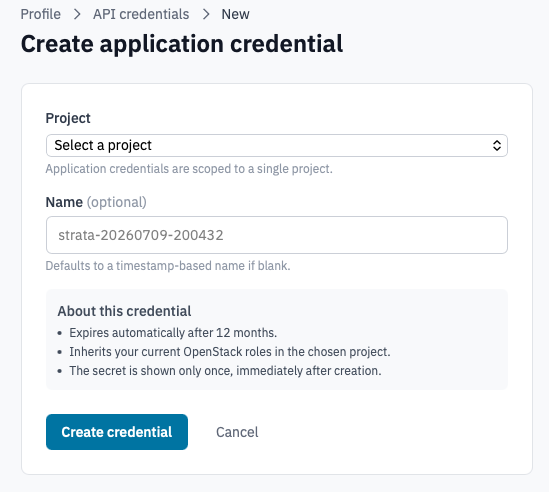
Create application credential form.
-
Click Create credential.
2. Save the secret
On the next page, the credential ID and secret are shown along with two ready-to-use config files:
clouds.yaml— for the OpenStack CLI and most SDKs.openrc.sh— shell-style environment variables.
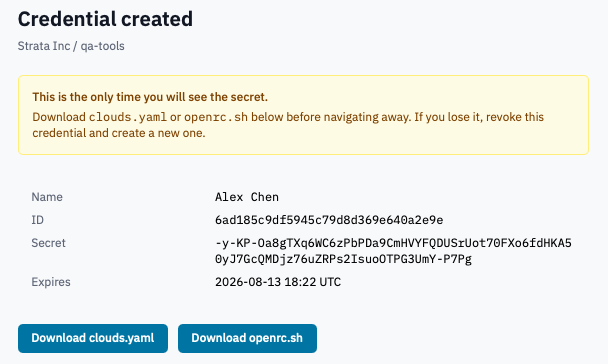
Credential created page with the clouds.yaml and openrc.sh download buttons.
-
Click Download clouds.yaml or Download openrc.sh (or copy the contents from the preview below the buttons) before navigating away.
Warning: This is the only time the secret is shown. If you lose it, revoke the credential and create a new one.
-
Save
clouds.yamlto~/.config/openstack/clouds.yamlon the machine where you'll use the CLI, or sourceopenrc.shin your shell.
3. Revoke a credential
- In the API credentials list, click Revoke next to the credential.
-
Confirm by typing the credential's name and clicking Revoke.
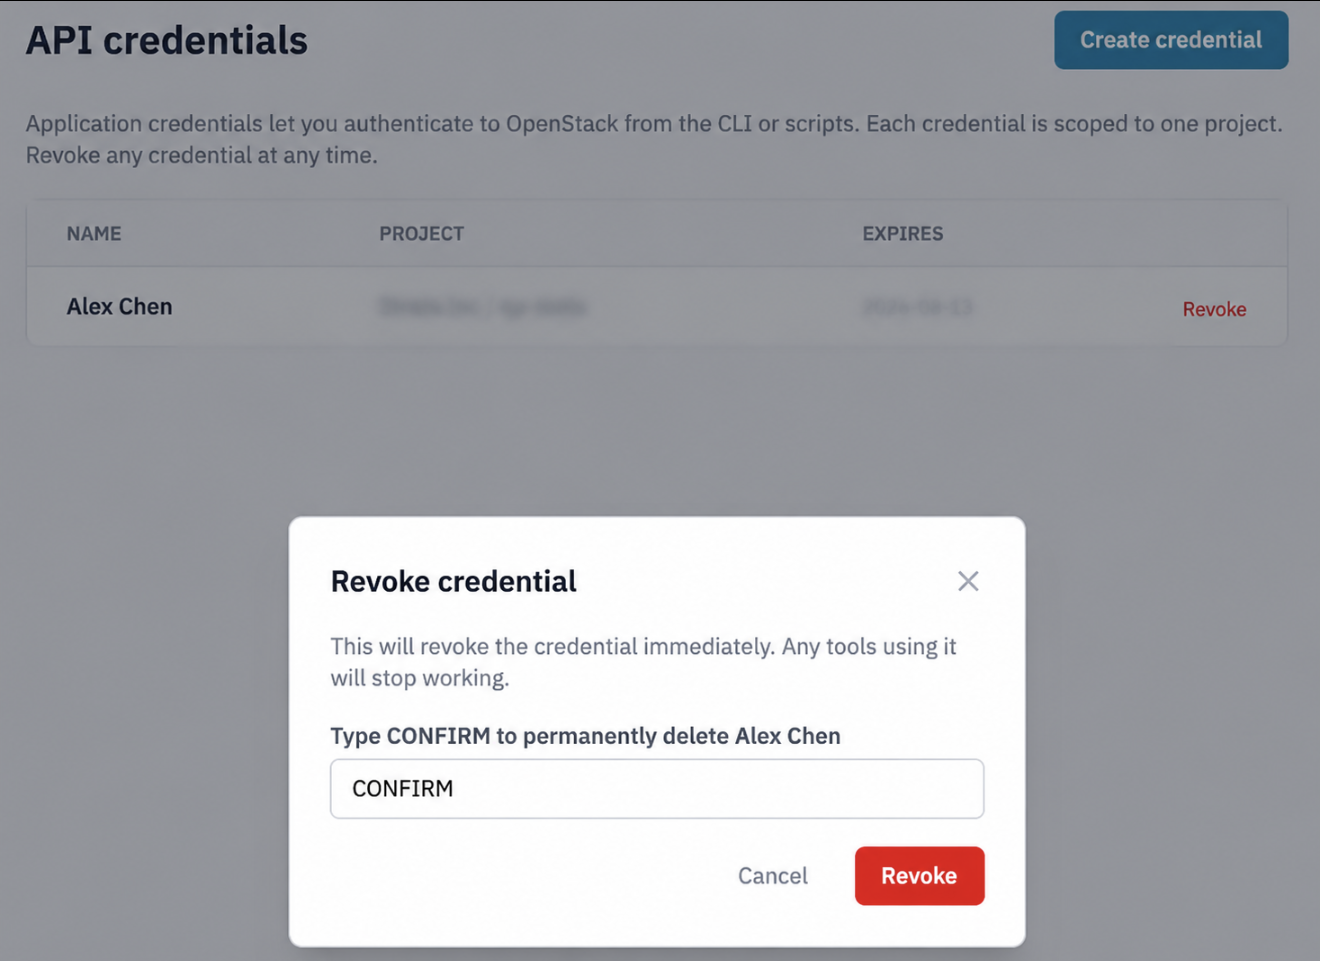
Revoke credential confirmation.
Any tool using the credential will start receiving authentication errors immediately.
Verification
Use the OpenStack CLI to confirm the credential works:
You should see the instances in the project the credential is scoped to (or an empty list, if there aren't any yet).
Reminder: Credentials expire automatically after 12 months. Set yourself a calendar reminder to rotate them before then.