Add a network interface to an existing instance
Attach an instance to a second project network without rebuilding it. Useful for splitting management and data traffic, putting the instance on both a public and an internal network, or moving an existing workload between networks.
Prerequisites
- A running instance.
- A second network in the same project. The interface modal only lists networks the instance isn't already attached to.
- Owner or admin role in the organisation.
Steps
1. Attach the interface
- Open the project, click Instances, then click the instance's name.
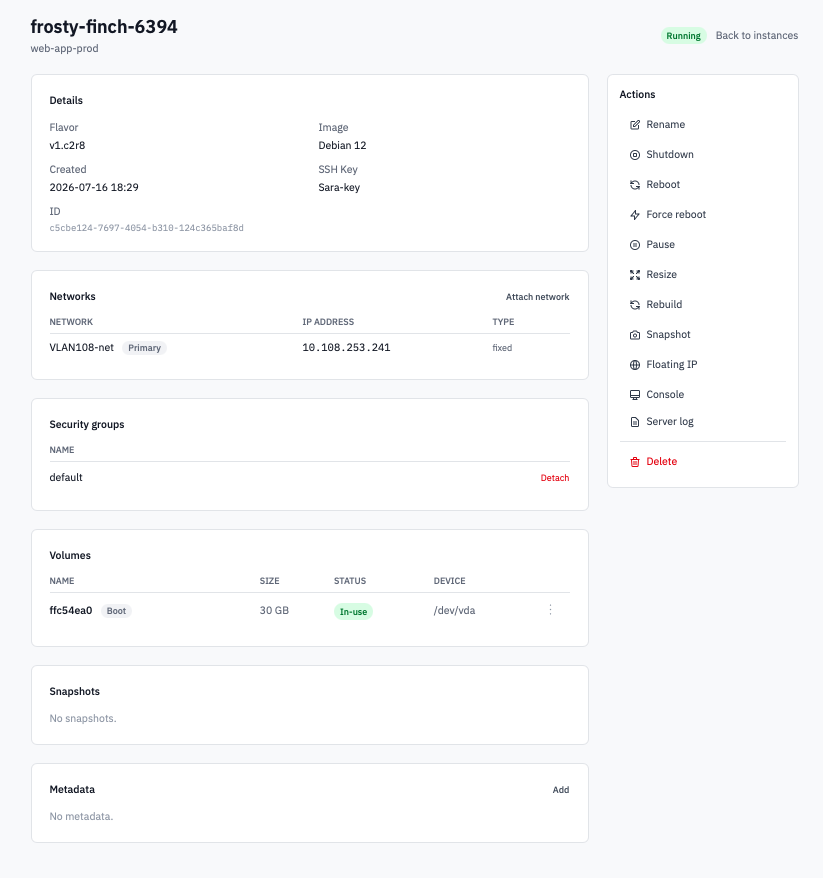
Instance detail page showing the Networks section with the Attach network button.
-
Scroll to the Networks section on the instance detail page. Click Attach network.
The button only appears when there's at least one network in the project the instance isn't already on.
-
Pick the network from the dropdown in the Attach network modal.
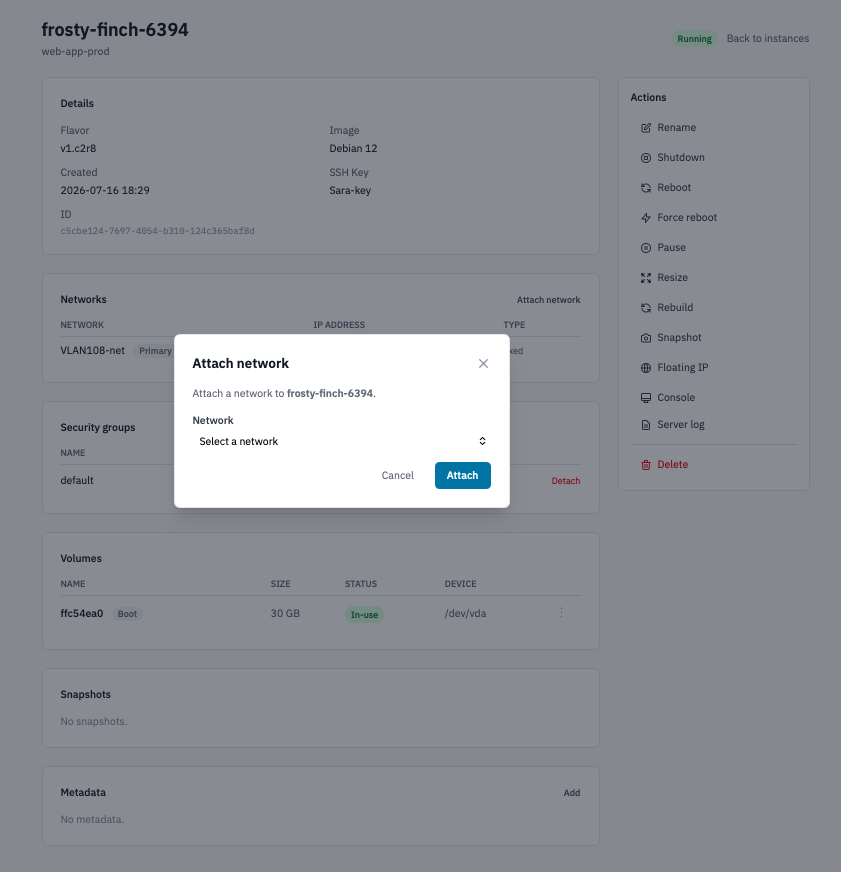
Attach network modal with a network selected from the dropdown.
- Click Attach.
The new interface appears in the Networks table within a few seconds with its assigned IP address and a Type column showing the network's role. The instance detail page auto-refreshes.
2. Bring up the interface inside the guest
OpenStack hot-plugs the NIC but the guest OS still has to configure it. The behaviour depends on the image:
- Cloud-init-managed images (Ubuntu cloud images, Rocky
cloud images, etc.) usually pick up the NIC on next
cloud-init run. A reboot is the easiest way to trigger it,
but you can also re-run
cloud-initmanually. - Vanilla / appliance images need you to configure the new interface by hand — assign IP via DHCP or static, edit the netplan / systemd-networkd / network-scripts config to make it persistent.
Pragmatic minimum from inside Linux:
Once it works ad-hoc, write the config to whatever netplan /
systemd-networkd / /etc/network/interfaces file matches the
distro so it survives a reboot.
3. Detach an interface
-
In the Networks section, click the trash icon at the end of the interface's row.
Screenshot needed
Networks table with the trash icon on a non-primary interface row.
-
Confirm the prompt.
Note: The primary interface (the one created when the instance was launched) can't be detached — the Portal refuses with an error. The "Primary" badge on the row identifies it.
Verification
- A newly-attached interface shows in the Networks section with an IP address.
ip link(Linux) or Network Connections (Windows) inside the instance shows the new NIC; once you configure it,ip addr showreports the assigned address.- Attempts to detach the primary interface from the Portal are refused with a "The primary network interface cannot be detached" alert — that's expected.
Next steps
- Associate a floating IP on the new interface so it can be reached from outside the cloud.
- Configure security groups — groups apply to the instance, not per-interface, so existing rules already gate the new IP's traffic.
- Create another network first if the only candidate networks are already attached.