Organisation settings
The Settings page is where you rename your organisation and (if enabled) control how member-role users see projects.
Prerequisites
- An organisation you're a member of as owner or admin (to edit the name) — or owner (to change project access controls).
Steps
1. Rename the organisation
- Open the organisation's Settings page from the side navigation.
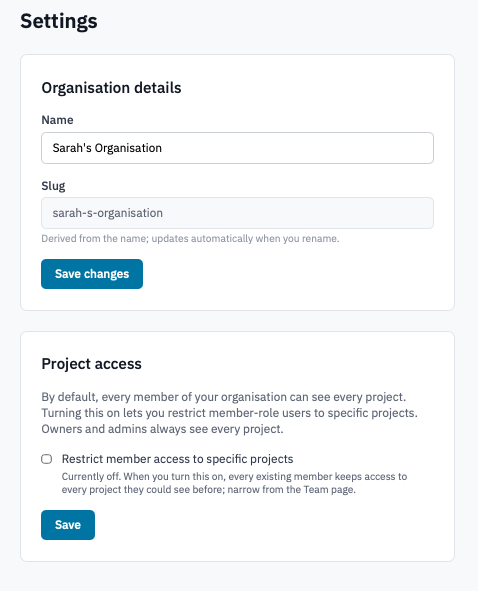
Settings page with the Organisation details card visible.
-
In the Organisation details card, edit the Name field.
The Slug below is shown for reference only — it's part of the URL and can't be changed after the organisation is created.
-
Click Save changes.
The new name is reflected immediately throughout the Portal — side navigation, dashboard headers, member pages, audit log.
2. Restrict member access to specific projects
If your deployment includes the Project access module, owners get a second card to opt in or out of per-project access controls. Skip this step if you don't see the card.
- In the Project access card, read the description carefully. With the toggle off, every member of your organisation can see every project. With it on, members in the Member role only see projects they've been granted access to — owners and admins still see everything.
Project access card with the toggle visible.
-
Tick (or untick) Restrict member access to specific projects and click Save.
- Turning on preserves every member's existing visibility — everyone who could see a project before still can. Narrow each member's access from the Team page.
- Turning off removes per-member restrictions; every member can see every project again.
Verification
- Renaming the organisation: the new name appears in the dashboard header and the side navigation on your next page navigation.
- Project access toggle: the Team page now shows a Project access column, and Manage buttons appear next to each Member row.
Next steps
- Manage member roles — narrow per-project access after turning the restriction on.
- Manage projects
- Audit log — every settings change is recorded.