Make a volume snapshot
A volume snapshot is a point-in-time copy of a volume's contents. Snapshots are cheap, fast, and the right tool for "I'm about to make a risky change to this data" — they let you roll forward by creating a new volume from the snapshot if anything goes wrong.
For listing, deleting, and restoring snapshots across the project, see Manage snapshots.
Prerequisites
- An existing volume. Snapshots can be taken whether the volume is Available (detached) or In-use (attached to a running instance) — see the per-state notes below.
When to take a snapshot
- Before resizing or extending with LVM — recovery point if the resize goes wrong.
- Before an in-place upgrade of the database, package, or kernel running on the volume.
- As a periodic restore point (script via the OpenStack CLI for scheduled snapshots).
- Before deleting the volume, if there's any chance you'll want the data back.
Steps
1. Take the snapshot
-
Open Volumes under the project's menu, then click the volume's name.
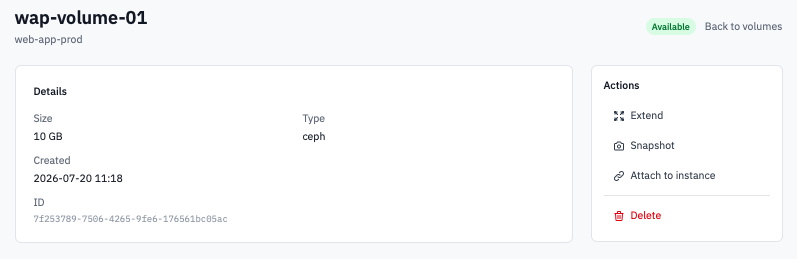
Volume detail page with the Actions panel on the right.
-
In the Actions panel on the right, click Snapshot.
-
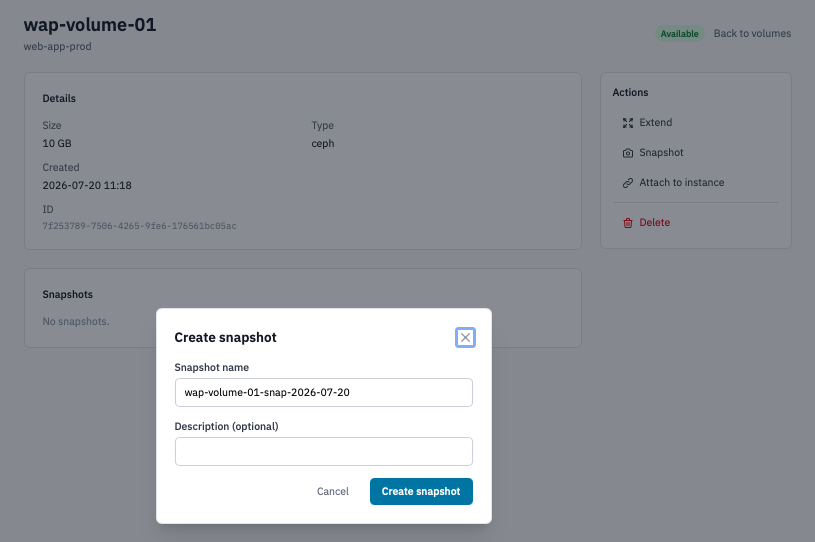
In the Create snapshot dialog:
- Snapshot name — pre-filled as
<volume-name>-snap-<YYYY-MM-DD>. Keep that pattern or replace with something more meaningful (e.g.pg-data-before-pg16-upgrade). Descriptive names make restores far easier later. - Description (optional) — extra context for teammates.
Create snapshot modal showing the pre-filled name and the description field.
- Snapshot name — pre-filled as
-
Click Create snapshot.
2. Snapshotting an in-use volume
The Portal will let you snapshot a volume that's currently attached to a running instance. OpenStack's volume service quiesces the snapshot using the underlying storage driver — for most backends this is crash-consistent, not application-consistent.
For application consistency:
- Databases — issue the engine's snapshot/freeze command first
(
FLUSH TABLES WITH READ LOCKfor MySQL,pg_start_backupfor Postgres, etc.) so the snapshot reflects a clean transaction state. - Filesystems with caches — issue
syncinside the guest before triggering the snapshot. - Critical workloads — detach the volume, snapshot from Available state, re-attach. Slowest but guaranteed consistent.
Verification
- The new snapshot appears in the Snapshots card on the volume's detail page within a few seconds.
- It also appears on the project's Snapshots page with the source volume shown alongside.
- Status moves through Creating → Available as the snapshot completes.
Restore from a snapshot
Snapshots aren't restored over the source volume — they're used to create a brand-new volume:
- Open Snapshots under the project menu — see Manage snapshots.
- Click Create volume from snapshot on the row.
- The new-volume form opens with the source pinned, size locked to the snapshot, and a name suggested. Adjust as needed and click Create volume.
- Attach the new volume to an instance and verify the data.
Next steps
- Manage snapshots — list, delete, build the cleanup discipline before the project fills with stale snapshots.
- Create a volume from a snapshot to recover or branch the data.
- Use the OpenStack CLI if you want to script periodic snapshots.