Payment methods
Add a credit card so invoices on projects in auto-pay mode are charged automatically the day they're issued.
How card data is handled
Card details are entered directly into a Stripe-hosted form that loads inside the Portal — Breqwatr never sees your card number, expiry, or CVC. The only payment-related data that Breqwatr stores is the brand, last four digits, expiry month and year, and a Stripe identifier we use to charge the card. This matches the PCI SAQ-A scope Breqwatr operates under.
Prerequisites
- An organisation you're a member of as owner or admin.
- Card payments enabled on your Breqwatr Cloud deployment. If the Portal shows a yellow notice reading "Card payments are not configured for this Breqwatr install", your deployment doesn't support card payments — contact support to discuss alternatives.
- A valid credit card.
Steps
1. Add a card
-
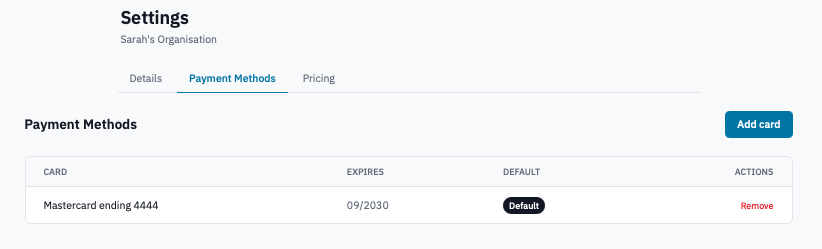
Open Billing → Settings → Payment Methods from the side navigation.

Payment Methods tab with the Add card button visible.
-
Click Add card.
-
In the Add a card form, fill in your card details. The form you see is rendered by Stripe — Breqwatr passes nothing about the card to its own servers.
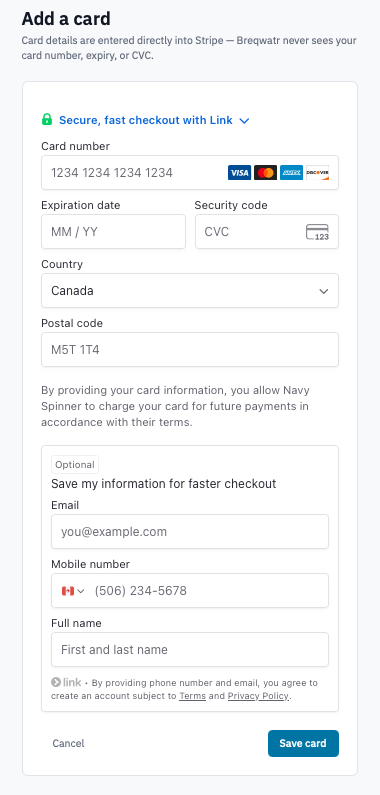
Add a card form showing the Stripe-hosted Payment Element.
-
Click Save card.
The button label changes to Working... while Stripe confirms the card. On success you're redirected back to the Payment Methods list with the new card present.
If the card is declined or fails 3D-Secure, an error appears above the form; the card is not saved and you can correct the details and try again.
2. Set a default card
The default card is what auto-pay invoices are charged to.
- In the Payment Methods list, click Make default on the card you want to use.
Payment Methods list with Make default visible on a non-default card.
The chosen card is now labelled Default, and any other card that was default is demoted automatically.
3. Remove a card
-
In the Payment Methods list, click Remove on the card.
-
Confirm the prompt.
Confirmation dialog before removing a payment method.
Removing the default card without a replacement on file will
cause the next auto-pay invoice to fail — set another card as
default first, or add a replacement before removing the
current default.
Verification
- A new card appears in the Payment Methods list with its brand, last four digits, and expiry.
- Auto-pay invoices move from Sent to Paid shortly after they're issued — see the billing overview activity feed.
Next steps
- Invoices to see what gets charged to the card.
- Billing overview to see your account credit, outstanding, and next-invoice date.