Push and pull images
Create a project-scoped credential, point docker login at the
registry, and you can push and pull images from any machine — your
laptop, CI runner, or a Breqwatr Cloud instance.
Prerequisites
- The container registry turned on for the project you want to push to.
- An organisation you're a member of as owner or admin (only these roles can create credentials).
- Docker (or another OCI-compatible client like
podmanorbuildah) installed on the machine you'll push from.
Steps
1. Create a credential
-
Open the project, click Container registry in its menu, then Registry credentials.
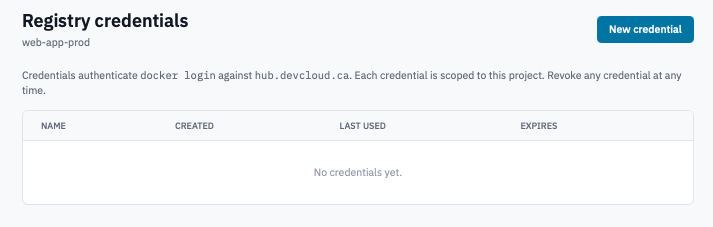
Registry credentials page with the New credential button visible.
-
Click New credential.
-
In the form, optionally give the credential a Name so you can tell credentials apart later (
ci-pipeline,laptop-mike,staging-deploy). Names default to a timestamp if left blank.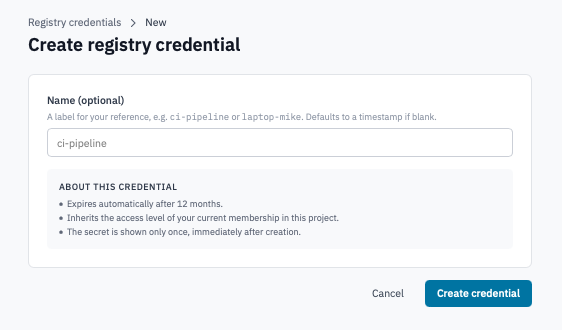
Create registry credential form.
Each credential:
- Expires after 12 months automatically. Set a calendar reminder.
- Can pull, push, and delete tags within your organisation's namespace, scoped to this project — the credential cannot read or modify other projects' repos, even within the same organisation. Only owners and admins can mint credentials in the first place; once minted, the credential itself is not tied to the creator's role.
- Drops to pull-only when the project's registry subscription is over its storage cap. Existing pushes start failing immediately; pulls keep working. Free up space or upgrade the plan and pushes resume on the next login.
- Shows the secret only once. Copy it before navigating away.
-
Click Create credential.
2. Authenticate docker login
The next page shows the secret along with a ready-to-paste login command. The command looks like:
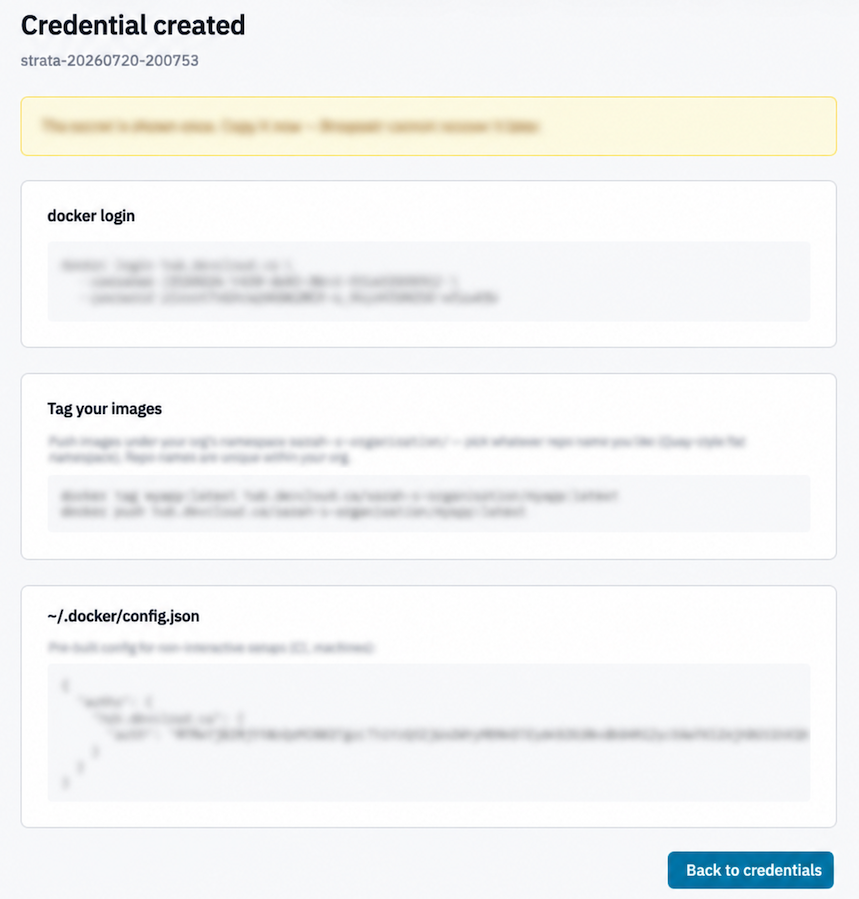
Credential created page showing the docker login command and the tag-push examples.
Run it on the machine you want to push from. A successful login prints:
Warning: Don't paste the password into a shell that records
history (e.g. an interactive Bash with HISTFILE enabled). For CI
or scripts, prefer the pre-built ~/.docker/config.json snippet on
the same page — copy it into the runner's home directory and Docker
authenticates automatically without ever running docker login.
3. Tag your image with the org namespace
Every image you push must be prefixed with the organisation's
namespace under the registry endpoint. The Portal shows the exact
prefix on the credential-created page — it's the organisation's slug
under the endpoint host. For an org with slug acme on a registry at
registry.example.com, an image tagged locally as myapp:latest is
pushed as:
docker tag myapp:latest registry.example.com/acme/myapp:latest
docker push registry.example.com/acme/myapp:latest
Repo names are flat under the org namespace (Quay-style) — myapp,
myapp-staging, nginx-fork are all valid; there are no nested
paths like acme/team-a/myapp. Repo names must be unique within
your organisation.
4. Pull an image
Pulling uses the same login. From any machine that's run docker
login:
To grab the exact pull command for a specific tag — including its digest — open the repo from Manage repositories, pick the tag, and use the Copy button.
5. Revoke a credential
- On the Registry credentials page, click Revoke on the credential's row.
-
Confirm the prompt.
Screenshot needed
Revoke credential confirmation dialog.
Anything using the credential starts failing immediately. The next
docker pushordocker pullreturns an authentication error.
Verification
- A successful first push appears in the registry's repository list on the Manage repositories page within a few seconds.
- The storage tile on the registry page climbs by the layered size of the image you pushed.
- The credential's Last used column updates after each authenticated request.
Next steps
- Manage repositories — browse pushed images, delete tags or whole repos.
- Retention policy — automate tag cleanup.
- Application credentials — if you also need the OpenStack CLI in the same script.