Launch an instance
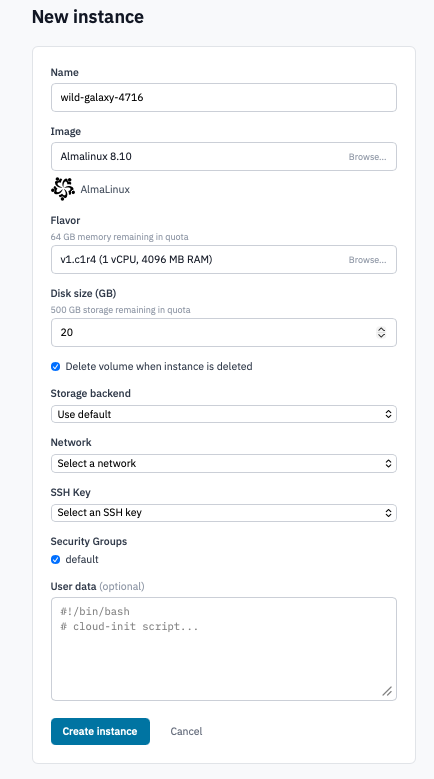
Create and start a new instance in a Breqwatr Cloud project. The single-page launch form picks an image, a flavor, a disk size, a network, and (for images that require it) an SSH key.
Prerequisites
- A project you can launch into (any organisation role can see the project; only owner and admin can launch).
- Available quota for the resources you want — see Quotas and limits. The form shows you the remaining memory and storage as you pick.
- An SSH key on your account if you'll launch a Linux image that uses cloud-init key injection. The form auto-prompts you to add one if your chosen image requires it.
Steps
1. Open the launch form
-
Open the project from the side navigation, then click Instances.
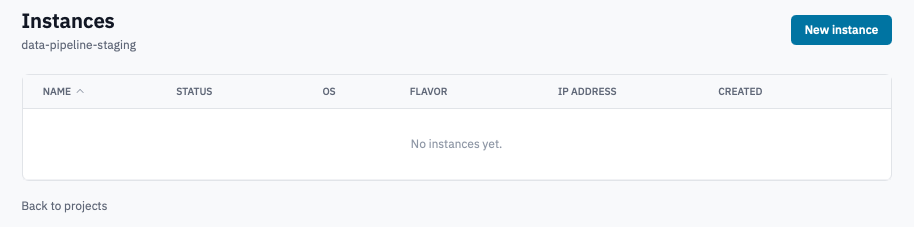
Instances index with the New instance button visible in the top right.
- Click New instance.
2. Pick an image
The Image field opens a picker grouped into Project Images (your uploads and instance snapshots) and Public Images (the operator's catalog).
-
Click the image field, then pick an image. Each image shows the OS distro icon (Ubuntu, Rocky, Debian, Windows, etc.) and the image name.
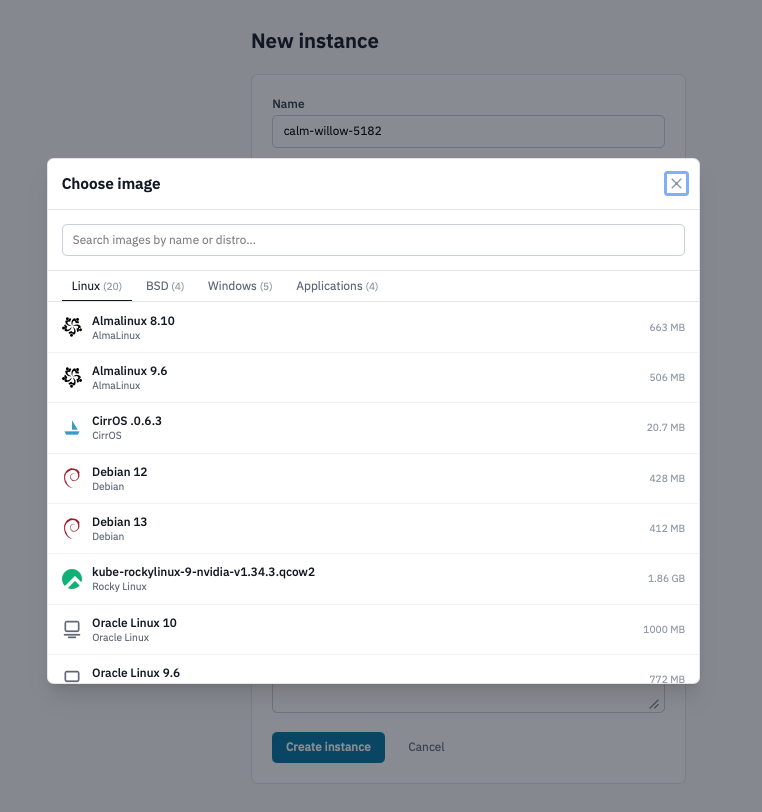
Image picker modal with Project Images and Public Images groups.
-
The picked image preview appears below the field with its distro label.
If the image was uploaded with SSH Key Required set to yes, the form will reveal an SSH Key field further down. See Upload and manage custom images for that flag.
3. Pick a flavor
The Flavor picker shows every public OpenStack flavor with its vCPU count and RAM. Flavors that would exceed your remaining memory quota are shown but disabled.
-
Click the flavor field. The picker opens.
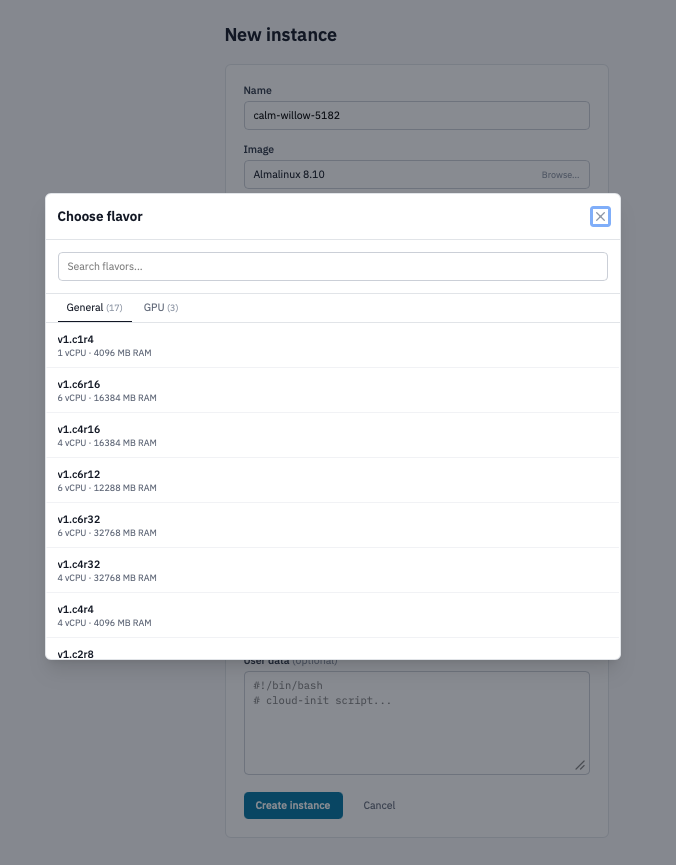
Flavor picker modal showing vCPU and RAM per flavor, with one quota-exceeding row disabled.
-
Pick the smallest flavor that fits your workload. You can resize later if needed.
4. Pick a disk size
-
The Disk size (GB) field defaults to 20. Increase if your image's
min_diskrequires more or your workload needs more space.The label above the field shows the remaining storage quota. You can't go past it from the form.
-
(Optional) Untick Delete volume when instance is deleted if you want the root volume to survive the instance — useful for moving the OS disk to a new instance later. By default the root volume is destroyed when the instance is.
-
(Optional) If your deployment exposes more than one storage backend, pick one in the Storage backend dropdown. Leave on Use default if you don't have a reason to change it.
5. Pick a network and (if shown) an SSH key
-
Network — pick from the dropdown. New projects come with a
defaultnetwork already provisioned. Build more from Create a new network.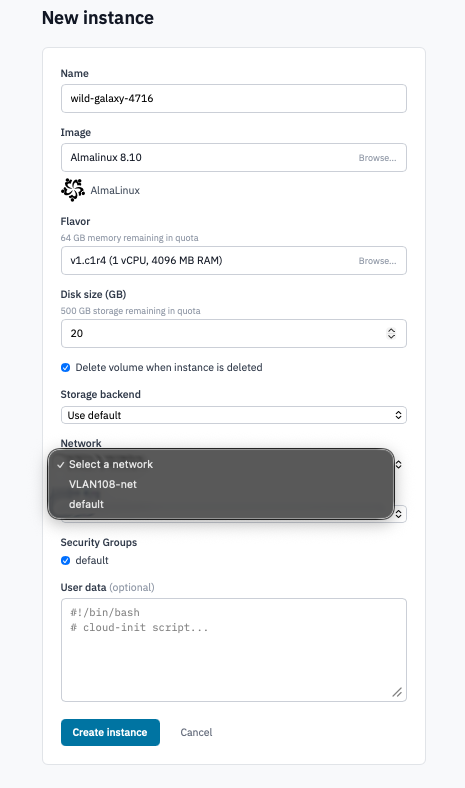
Network dropdown showing the default network selected.
-
SSH Key — shown only when the picked image is flagged as requiring one. Pick a key from your account's keys.
If you have no keys yet, the form shows a yellow callout with an Add an SSH key button. Click it to paste a public key inline without leaving the form.

SSH Key section with the inline "Add an SSH key" prompt.
6. Pick security groups
The Security Groups field is a checkbox list of every security
group in the project. The default group is pre-checked.
-
Leave default ticked unless you have a reason to remove it (it allows the instance to reach the rest of your project).
-
Tick any other groups whose rules the instance needs. See Configure security groups to build groups for inbound traffic (SSH, HTTP, custom ports).
7. (Optional) Add user data
The User data textarea takes a cloud-init script that runs on first boot. Use it to install packages, set passwords, write files, or kick off a configuration management run.
8. Launch
Click Create instance.
The Portal returns to the Instances list with the new row showing a Building status badge. The list auto-refreshes while the instance provisions; status moves through Building → Active once it boots.
Instances list with a newly-launched instance in the Active state.
Verification
- The instance reaches Active state within a few minutes (most cloud images boot in well under a minute; uploaded images may take longer).
- Click the instance to open its detail page. The console section shows the boot log; expanding it gives you a web console for interactive access.
Next steps
- Connect to your instance over SSH or the web console.
- Configure security groups to open ports for external traffic.
- Allocate a floating IP to give the instance a routable public address.
- Attach a volume for extra block storage.