Create a load balancer
A load balancer fronts a pool of backend instances with a single virtual IP (VIP) and distributes inbound connections across them. Use one when you need horizontal scale (multiple instances behind one address), zero-downtime deploys (drain one instance while the others serve), or high availability (one instance dies, the others keep serving).
The Strata flow is two steps: create the load balancer to get a VIP, then add listeners + members to actually route traffic.
Prerequisites
- A project with at least one network that the load balancer's VIP
can sit on. The
defaultnetwork shipped with every project works for most setups. - Backend instances on the same network as the VIP. The members list on a listener only shows instances in the current project in ACTIVE state.
- Owner or admin role in the organisation.
Steps
1. Create the load balancer
-
Open the project, then click Load balancers under its menu.
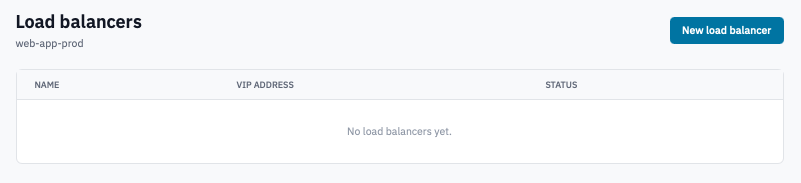
Load balancers page with the New load balancer button visible.
-
Click New load balancer.
-
Fill in:
- Name — short and descriptive (
web-frontend,api-prod-lb). - VIP network — the network the load balancer's address will sit on. Same network as the backends.
- Name — short and descriptive (
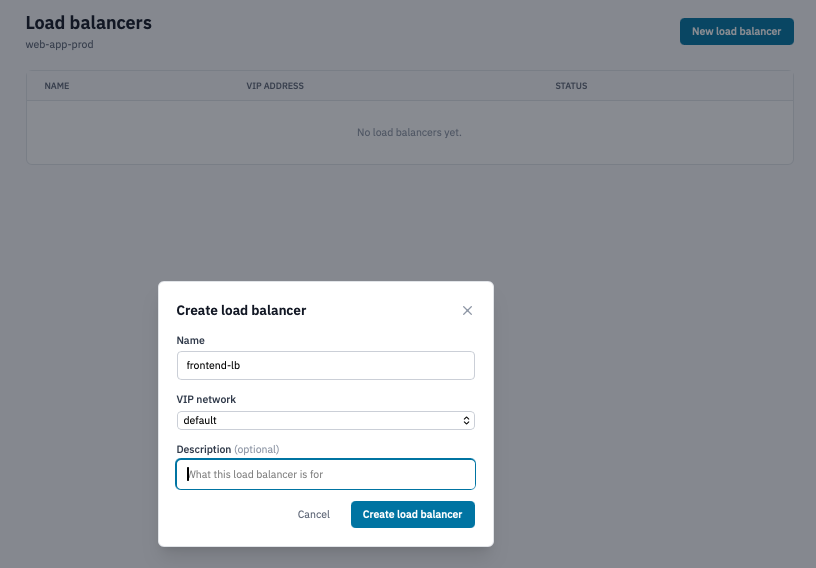
Create load balancer modal showing Name and VIP network fields.
- Click Create load balancer.
The load balancer appears in the list with provisioning status PENDING_CREATE. Once Octavia finishes provisioning the backend appliance, status moves to ACTIVE. This typically takes 30 seconds to a couple of minutes. The page auto-refreshes.
2. Add a listener
A listener defines which port and protocol traffic arrives on, plus the algorithm used to pick a backend. You can have multiple listeners on a single load balancer (e.g. HTTP on 80 and HTTPS on 443).
-
Click the load balancer's name to open its detail page.
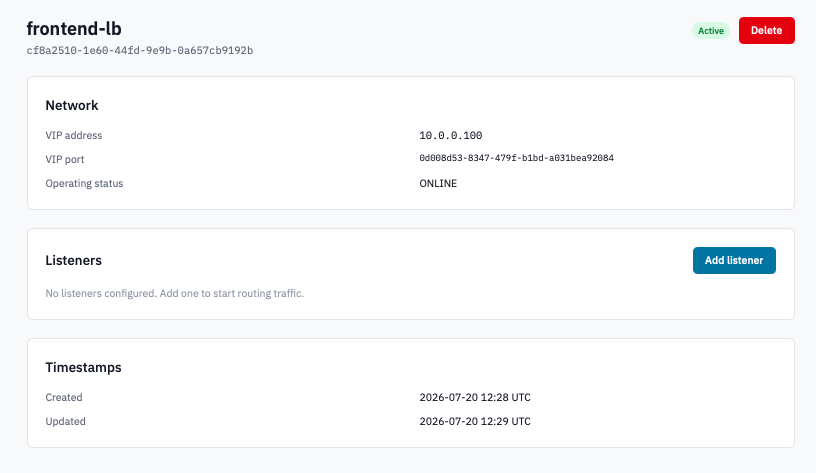
Load balancer detail page with the Add listener button in the Listeners section.
-
Click Add listener.
-
Fill in:
-
Protocol — pick TCP, HTTP, HTTPS, UDP, or SCTP.
- HTTP for plain HTTP traffic on port 80.
- HTTPS for TLS-passthrough — the load balancer forwards encrypted bytes to the backend without decrypting. The backend handles the cert.
- For TLS termination at the load balancer (decrypt at the LB, plain HTTP to the backend), see Create a load balancer with SSL offload.
- TCP for any protocol the LB doesn't need to understand at L7.
- UDP / SCTP for the matching transport protocols.
-
Port — the port traffic arrives on (e.g.
80,443,8080). -
Load-balancing algorithm — how the LB picks a backend:
- ROUND_ROBIN — cycle through members in order. Good default.
- LEAST_CONNECTIONS — send to the member with the fewest open connections. Good for long-lived connections.
- SOURCE_IP — sticky-route based on the client's source IP. Good for stateful protocols.
- SOURCE_IP_PORT — sticky-route based on source IP and port. Tighter than SOURCE_IP.
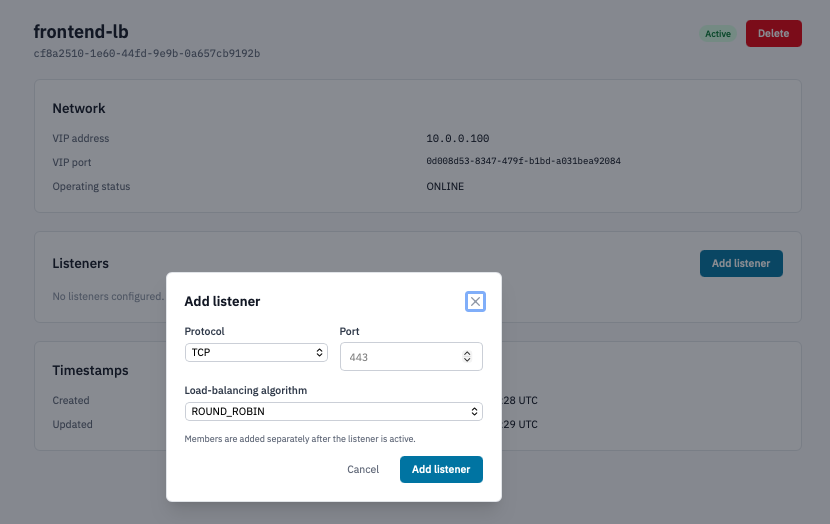
Add listener modal with Protocol, Port, and algorithm fields.
-
-
Click Add listener.
Listeners go through their own PENDING_CREATE → ACTIVE cycle. Members can be added once the listener is ACTIVE.
3. Add members
Members are the backend instances that traffic actually lands on. Each member has an instance and a port.
-
On the load balancer detail page, click Edit members on the listener's row.
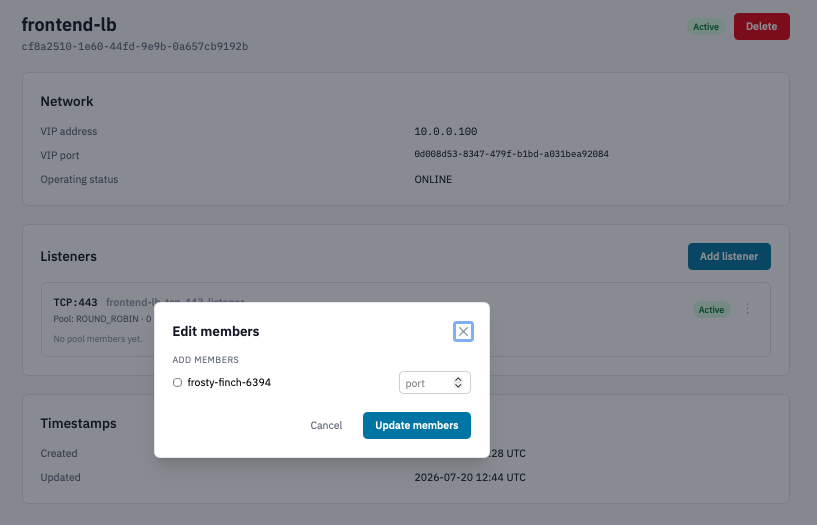 Edit members modal showing checkboxes for current members and add candidates with per-row port inputs.
 -
In Add members, tick the backend instances you want and set the port each one listens on. The port is per-member — you can fan out traffic from
:443on the listener to:8443on a backend that listens there. -
To remove existing members, tick the remove boxes in the Current members section.
-
Click Update members.
4. Delete the load balancer
- On either the index or detail page, click the trash icon / Delete load balancer button.
-
Confirm by typing the load balancer's name.
Warning: Deleting the load balancer tears down every listener, pool, and member attached to it. The deletion is asynchronous and not reversible.
Verification
- Load balancer ACTIVE — the row shows the VIP address. From outside the cloud (or another instance), the VIP routes; if no listener is up yet, connections refuse.
- Listener ACTIVE — the per-row status badge on the detail page.
- Members healthy — connections to the VIP on the listener's
port get distributed across the configured members. Verify with
curl --resolveagainst the VIP or by checking backend access logs.
Next steps
- Create a load balancer with SSL offload if you need TLS termination at the load balancer.
- Configure security groups on the backend instances to allow inbound from the load balancer's subnet.
- Allocate a floating IP to give the load balancer's VIP a public address (Octavia VIPs are project-internal by default).