Manage your profile
Your profile page is the single place to update your account details, change your password, view your organisation membership, and control support access. Two-factor authentication, SSH keys, and API credentials are managed from the same page; each has its own tutorial.
Prerequisites
- A signed-in Breqwatr Cloud account.
Steps
1. Open your profile
-
Click your username in the top right of the Portal and choose Profile.
 Avatar menu with the Profile item highlighted.
2. Update your details
-
In the Details card, edit your Name, Email, or Timezone.
Times throughout the Portal (audit logs, invoices, usage charts) are shown in the timezone set here.
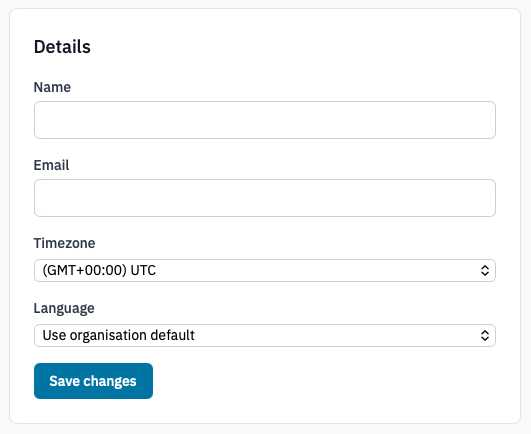
Profile Details card.
-
Click Save changes.
3. Change your password
Use this when you know your current password. If you're locked out, see Reset your password.
- In the Password card, enter your Current password.
-
Enter a new password and confirm it. Passwords must be at least 8 characters with an uppercase letter, a lowercase letter, and a number.
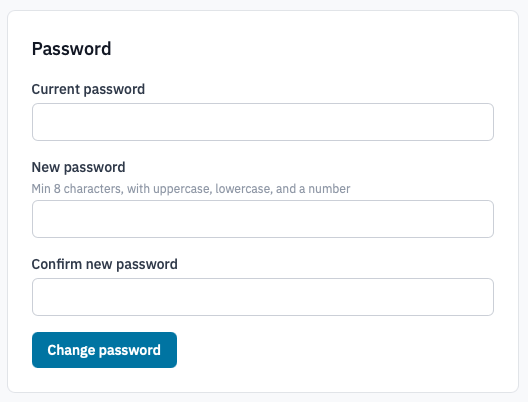
Profile Password card.
-
Click Change password.
4. Review your organisation membership
The Organisation card shows the organisation you belong to and your role inside it (owner, admin, or member). It's read-only — to change your role, ask an owner of the organisation.
Sign-in page with the Sign up link highlighted.
Profile Organisation card.
5. Grant support access (optional)
When you're chasing a bug with Breqwatr support, you can let them sign in as your account for a fixed window.
- In the Support access card, optionally describe what's wrong (anything you tell support helps them find the issue faster).
-
Click 1 hour, 24 hours, or 7 days to grant access for that long.
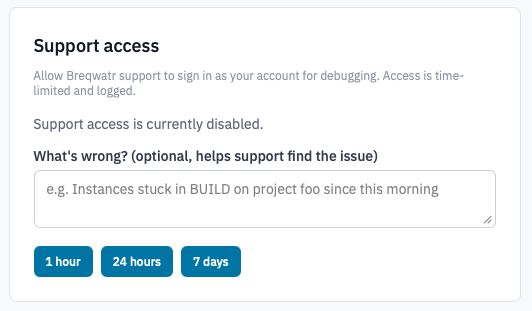
Profile Support access card.
-
Disable support access at any time by clicking Disable support access in the same card.
Note: Every support sign-in is recorded in your organisation's audit log.
Verification
- Saved changes display a confirmation banner at the top of the page.
- Updated timezone takes effect immediately — reload another Portal page to see times in your new zone.
- An active support-access window is shown with its expiry date in the Support access card.