Manage projects
A project holds your instances, volumes, networks, and other resources. Projects always live inside an organisation, and an organisation can have as many projects as it needs — separate dev and prod, separate workloads, separate tenants.
Prerequisites
- An organisation you're a member of as owner or admin (to create or edit projects) — or owner (to delete a project).
- Billing details on file if your deployment requires billing. The Portal blocks project creation until billing is complete and links you to the billing page when needed.
Steps
1. Create a project
-
Open the organisation's Projects page from the side navigation.

Projects index with the "New project" button visible.
-
Click New project.
If you see a greyed-out New project label and a link to complete billing details instead, finish billing setup first. The Portal links you straight to the billing details page — fill it in, save, and come back.
-
Fill in:
- Name — short and unique within the organisation. The Portal trims whitespace and the URL uses the project's internal ID, so the name is a label, not a slug.
- Description (optional) — a sentence so teammates can tell projects apart.
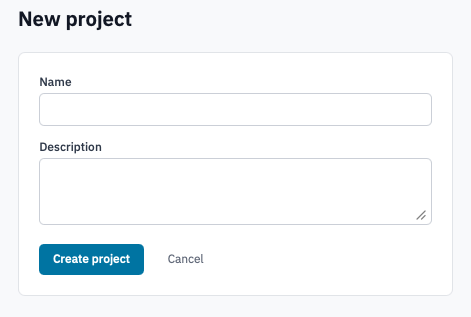
New project form.
-
Click Create project.
The project appears in the list with the Active status badge. Strata kicks off background provisioning for the underlying OpenStack project (Keystone project, default network, subnet, router, and security group rule). The list auto-refreshes for a few seconds after a create or delete so you see resources become available without manually refreshing.
Status badges
Each project row shows one of four status badges:
| Badge | Meaning |
|---|---|
| Active (green) | Normal. The project is in use. |
| Suspended (red) | A platform administrator has suspended the project. Cloud resources stay where they are but the project is read-only until reactivated. |
| Deleting (yellow) | Deletion is in progress. The row's action column shows "Actions unavailable" until the background job tears everything down and the row disappears. |
| Archived (grey) | Retired. The name renders as plain text rather than a link. Archived projects don't bill and aren't surfaced in the resource pickers. |
2. Edit a project
-
On the Projects page, click Edit on the project's row.
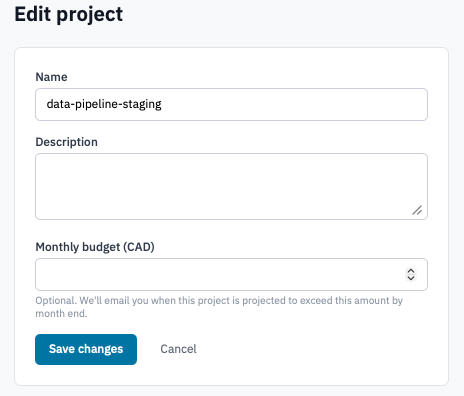
Edit project form.
-
Update the Name or Description and click Save changes.
Editing only changes the label and description — networking, quotas, and resources stay where they were.
3. Delete a project
Deleting a project is owner-only and permanent. The Portal blocks deletion if any instances or volumes still exist inside the project — delete those first.
-
On the Projects page, click Delete on the project's row.
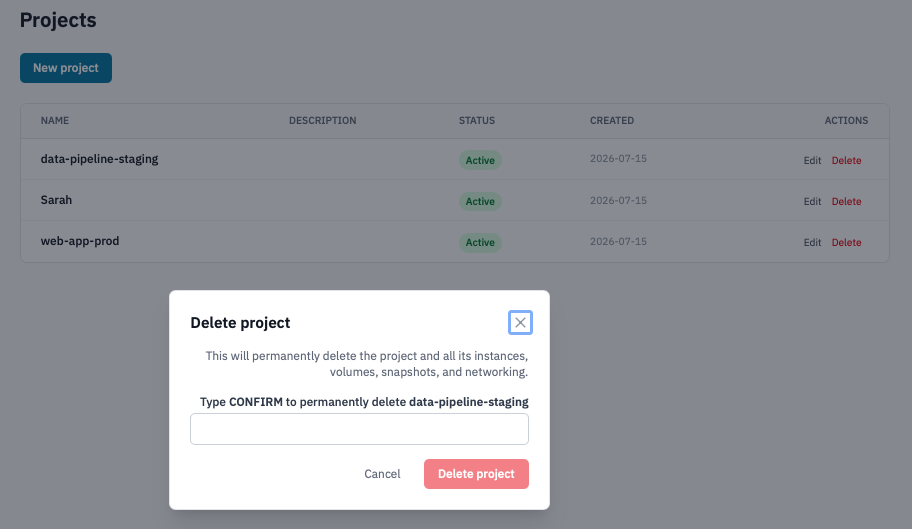
Delete project confirmation dialog.
-
Confirm by typing the project name and clicking Delete project.
Warning: This deletes the Keystone project, its default networking, all snapshots, and all application credentials scoped to it. Audit log entries about the project are kept.
The project's status changes to Deleting while the background job tears everything down. It disappears from the list once removal completes.
Verification
- A newly created project appears in the Projects list and becomes a link to its resources once provisioning finishes.
- An edited project shows the new name and description immediately.
- A deleted project shows the Deleting badge then drops off the list. The Audit log records the deletion.
Next steps
- Launch an instance in your new project.
- Create application credentials for the project so you can use the OpenStack CLI.
- Invite teammates and grant them project-specific access.
- Quotas and limits — check the project's resource limits and request an increase.