Attach a volume to an instance
Attach a volume to an instance to expose it as a block device. Detach when you're done — or never, if the volume holds the instance's persistent data.
Prerequisites
- An existing volume in Available state.
- An instance in the same project. The instance can be running or shut off — both accept attaches.
- Owner or admin role in the organisation. Members can read but not attach.
Steps
1. Attach the volume
You can start the attach from the volume side or the instance side — they open the same dialog.
-
Open Volumes under the project's menu and click the volume's name.
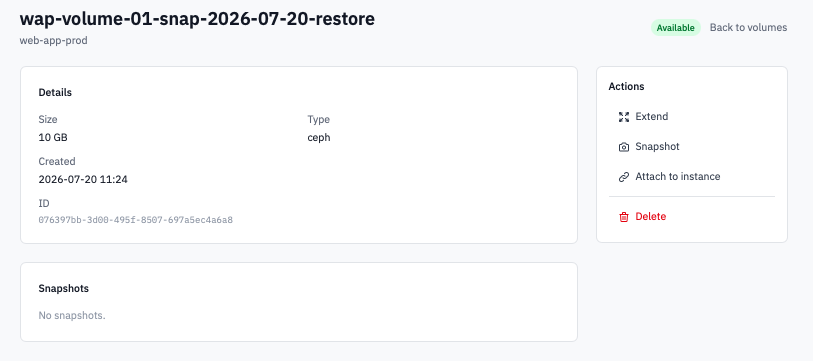
Volume detail page with the Actions panel showing the Attach to instance button.
-
In the Actions panel on the right, click Attach to instance.
-
Pick the target instance from the dropdown (it lists every instance in the project with its current status alongside) and click Attach.
 Attach to instance modal with a target instance selected.
The volume's status moves from Available to Attaching and then In-use. The page auto-refreshes — no manual reload needed.
2. Bring up the new device inside the guest
The cloud attaches the device but the guest OS still needs to see it.
Linux
- SSH into the instance (Connect to your instance).
-
List block devices to confirm the kernel sees the new disk:
The new disk usually shows as
/dev/vdb(or/dev/vdc,/dev/vdd... as you add more). -
Format and mount the device if it's empty (skip the format step if the volume was restored from a snapshot — the filesystem is already there):
-
Add an
/etc/fstabentry so the mount survives reboots:
Windows
- RDP into the instance.
- Open Disk Management. A new offline disk appears at the bottom.
- Right-click the disk, choose Online, then Initialize Disk (GPT is the safe default).
- Right-click the unallocated space and pick New Simple Volume to assign a drive letter and format.
3. Detach the volume
-
Stop using the volume inside the guest first. On Linux,
umount /mnt/data; on Windows, eject the drive from the notification area or use Diskpart > offline disk.Detaching a mounted volume without unmounting can corrupt filesystems on the volume.
-
On the volume's detail page, click Detach in the Actions panel.
 Volume detail page in In-use state showing the Detach button in the Actions panel.
 -
Confirm by typing the volume's name in the prompt and clicking Detach.
The volume returns to Available state and can be attached to another instance.
Verification
- The volume's detail page shows the target instance under
Attached to with the device path (
/dev/vdbor similar). lsblk(Linux) or Disk Management (Windows) shows the new block device inside the guest.
Next steps
- Resize the volume if the workload needs more space.
- Take a snapshot before risky operations.
- Manage snapshots — list, delete, restore.