Upload and manage custom images
Each project's Images page shows two sets of OS images: the public catalog provided by the operator (Ubuntu, Rocky, Debian, Windows Server when licensed), and a project-private list you upload yourself for instances that need a specific golden image, appliance, or migration source.
Prerequisites
- A project you can launch instances in (any organisation role that can see the project).
- The image file ready locally — up to 20 GB per upload.
- The image's disk format (one of
qcow2,raw,vmdk,iso,vdi,vhd).
Steps
1. Browse the existing images
-
Open the project, then click Images under its menu.
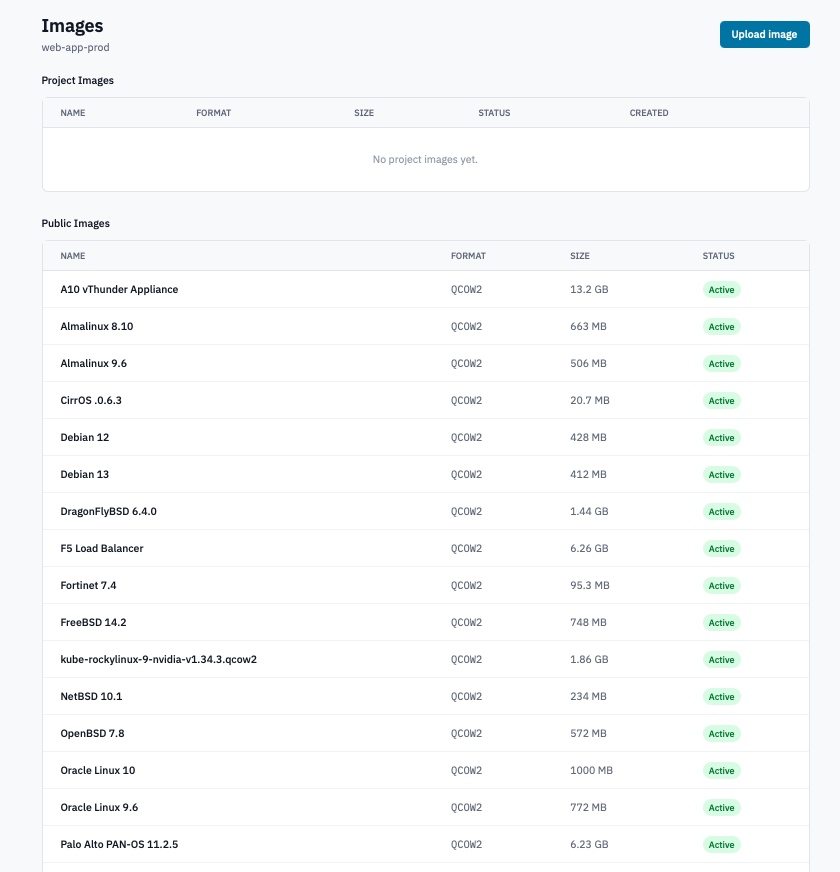
Project Images page showing the Project Images and Public Images tables.
-
Project Images lists the project's private images:
- Custom uploads — every image you've uploaded via this page.
- Instance snapshots — every time you snapshot a running instance, the resulting image lands here too (instance snapshots are stored as images, not as Cinder snapshots).
-
Public Images lists the operator's shared catalog. Anyone in the organisation can launch from these; you can't modify or delete them.
-
Each row shows the Name, Format (uppercase, e.g.
QCOW2), Size, Status, and Created date.
2. Upload a custom image
-
Click Upload image in the top right.
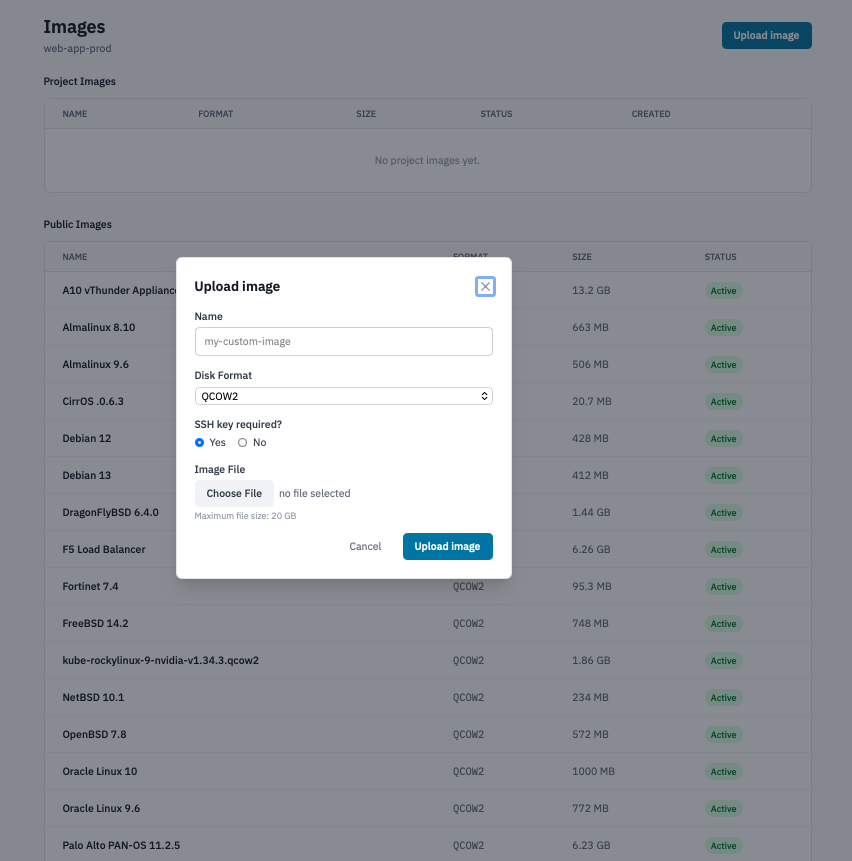
Upload image modal with the Name, Disk Format, and SSH Key Required fields.
-
Fill in:
- Name — a short descriptive label (e.g.
ubuntu-2204-prebaked). Names don't have to be globally unique; the project boundary is enough. - Disk Format — pick the format that matches your file.
qcow2is the most common Linux choice;isofor installer media;vmdk/vdi/vhdfor images converted from VMware / VirtualBox / Hyper-V. - SSH Key Required? — leave Yes for cloud-init-aware Linux images that inject the user's SSH key at boot. Pick No for images that already have credentials baked in or that won't honour the key (Windows, appliances). The launch-instance form uses this hint to decide whether to prompt for a key.
- Name — a short descriptive label (e.g.
-
Click Upload.
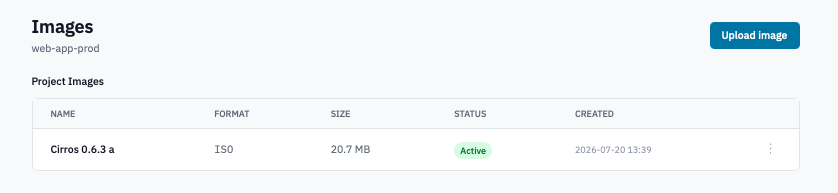 Project Images list with a newly-uploaded image in the Queued state.
3. Watch the status
Uploaded images move through the OpenStack image lifecycle. The status badge on the row tracks each stage:
| Status | Meaning |
|---|---|
| Queued | Metadata has been created in OpenStack; bytes are uploading. |
| Saving | The Portal is streaming bytes into the registry. |
| Active | Ready to use. The image is selectable on the launch-instance form. |
| Killed / Deleted | Upload failed or the image has been removed. The row disappears shortly after. |
The Images table auto-refreshes while an upload is in flight — no manual reload needed. Large images can take several minutes to finish saving.
4. Delete an image
-
In the Project Images table, click Delete on an image that's in Active state.
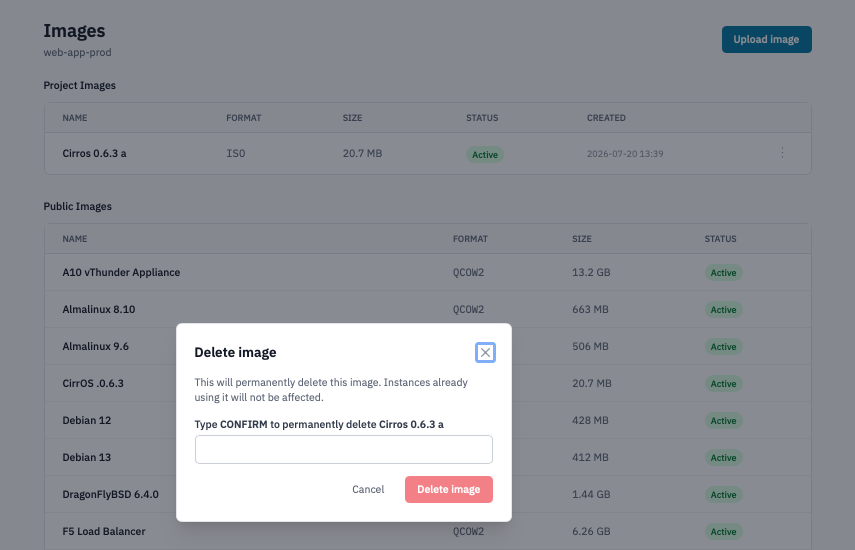
Delete image confirmation dialog.
-
Confirm the prompt.
Note: Instances that were launched from the image keep running — they don't depend on the image after boot. Future instances can no longer be launched from the deleted image, and any pending volumes-from-image creates will fail.
You can't delete public images — they're operator-owned.
Verification
- An uploaded image reaches Active status. Open Instances → New and you should see the image in the dropdown.
- An instance snapshot you triggered from an instance appears here (under Project Images) once the snapshot completes — the Portal moves it from Queued to Active just like an upload.
- A deleted image disappears from the list within seconds.
Next steps
- Launch an instance from your new image.
- Manage snapshots — volume snapshots live on a separate page; instance snapshots appear here under Project Images.