Floating IPs
A floating IP is a public IPv4 address you allocate from the operator's external pool and then attach to one of your instances. The instance becomes reachable from the internet at that address; detaching releases it back to be attached to a different instance or released entirely.
Without a floating IP, instances only have project-internal addresses and can't be reached from outside the cloud.
Prerequisites
- A running instance (status Active) in the project.
- An external pool available on the operator side — every Strata deployment ships with one. The Portal sources floating IPs from it automatically; no separate router setup is required (Strata attaches each project's networks to a router-with-external-gateway at provision time).
- Owner or admin role in the organisation.
Steps
1. Allocate a floating IP
Allocating reserves a fresh IP for your project, ready to attach.
-
Open the project, then click IP Addresses under its menu (it's labelled IP Addresses in the side nav and Floating IPs in URLs and audit logs — same page).
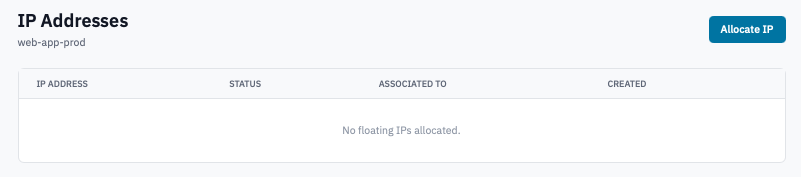
IP Addresses page with the Allocate IP button visible.
-
Click Allocate IP.
The new IP appears in the list with status DOWN (not yet attached) and no Associated To value.
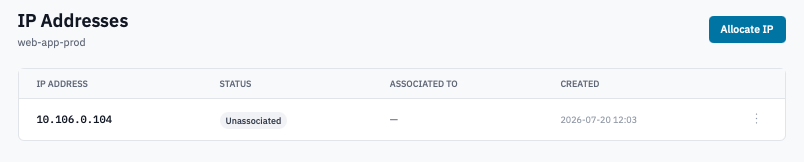
IP Addresses list with a newly-allocated IP in the DOWN state and no association.
2. Associate the IP with an instance
-
In the IP Addresses list, click the Associate button on the row of the IP you want to attach.
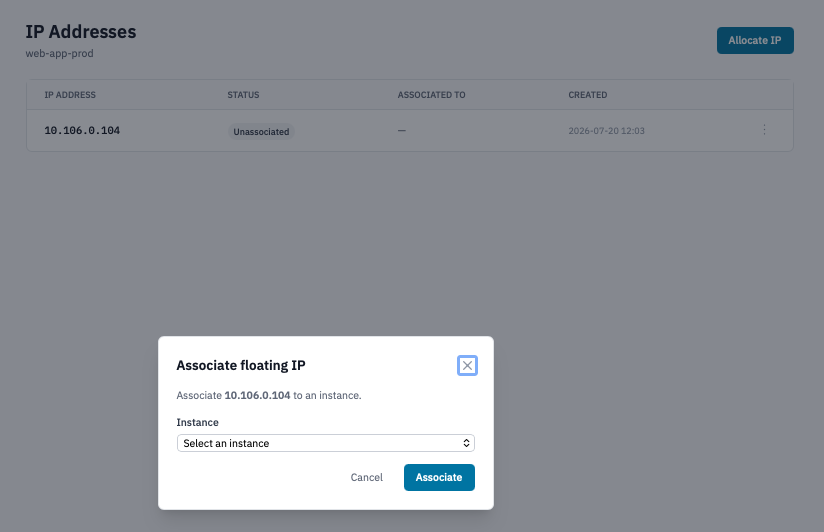
Associate floating IP modal with an instance selected from the dropdown.
-
Pick the target instance from the dropdown (only Active instances appear) and click Associate.
The IP moves to status ACTIVE and the Associated To column shows the instance name.
3. Disassociate (detach from instance)
- On the IP's row, click Disassociate.
- Confirm the prompt.
The IP returns to DOWN, no association. The address remains allocated to your project — you can associate it with a different instance, or release it back to the pool.
4. Release the IP
Release sends the IP back to the operator's external pool. The next allocation may or may not return the same IP.
- On a DOWN IP's row, click the trash icon.
-
Confirm by typing the IP address and clicking Release IP.
Screenshot needed
Release floating IP confirmation dialog showing the IP and the type-to-confirm input.
You can't release an IP that's currently associated to an instance — disassociate first.
Verification
- After allocation — the IP appears in the list. From outside the cloud, the IP doesn't yet route to anything; that's expected until you associate it.
-
After association — the IP appears next to the instance on the IP Addresses list and on the instance detail page. Probe the IP from outside the cloud:
(Allow ICMP in the instance's security group if you want to use
ping; SSH/HTTPS work as soon as the relevant security-group rule allows the source CIDR.)
Next steps
- Configure security groups to allow inbound traffic on the floating IP — without an ingress rule, the IP routes but no port responds.
- Add another network interface if the instance needs to sit on a second project network.
- Create a load balancer instead of (or in addition to) a floating IP when you need traffic to fan out across multiple backend instances.